My Sweet and Adorable Mummy^^
Friday, January 28, 2011 1:45 AM
Here is my sweetly Mummy, Janice.. I did some simple make over for her during her Company Annual Dinner... Some Old pic and New~
Have a look and do enjoy it^^
Mummy when 5years ago(Before Make Up)

A Mature Make Up Tutorial by my academy, Sense & Style.

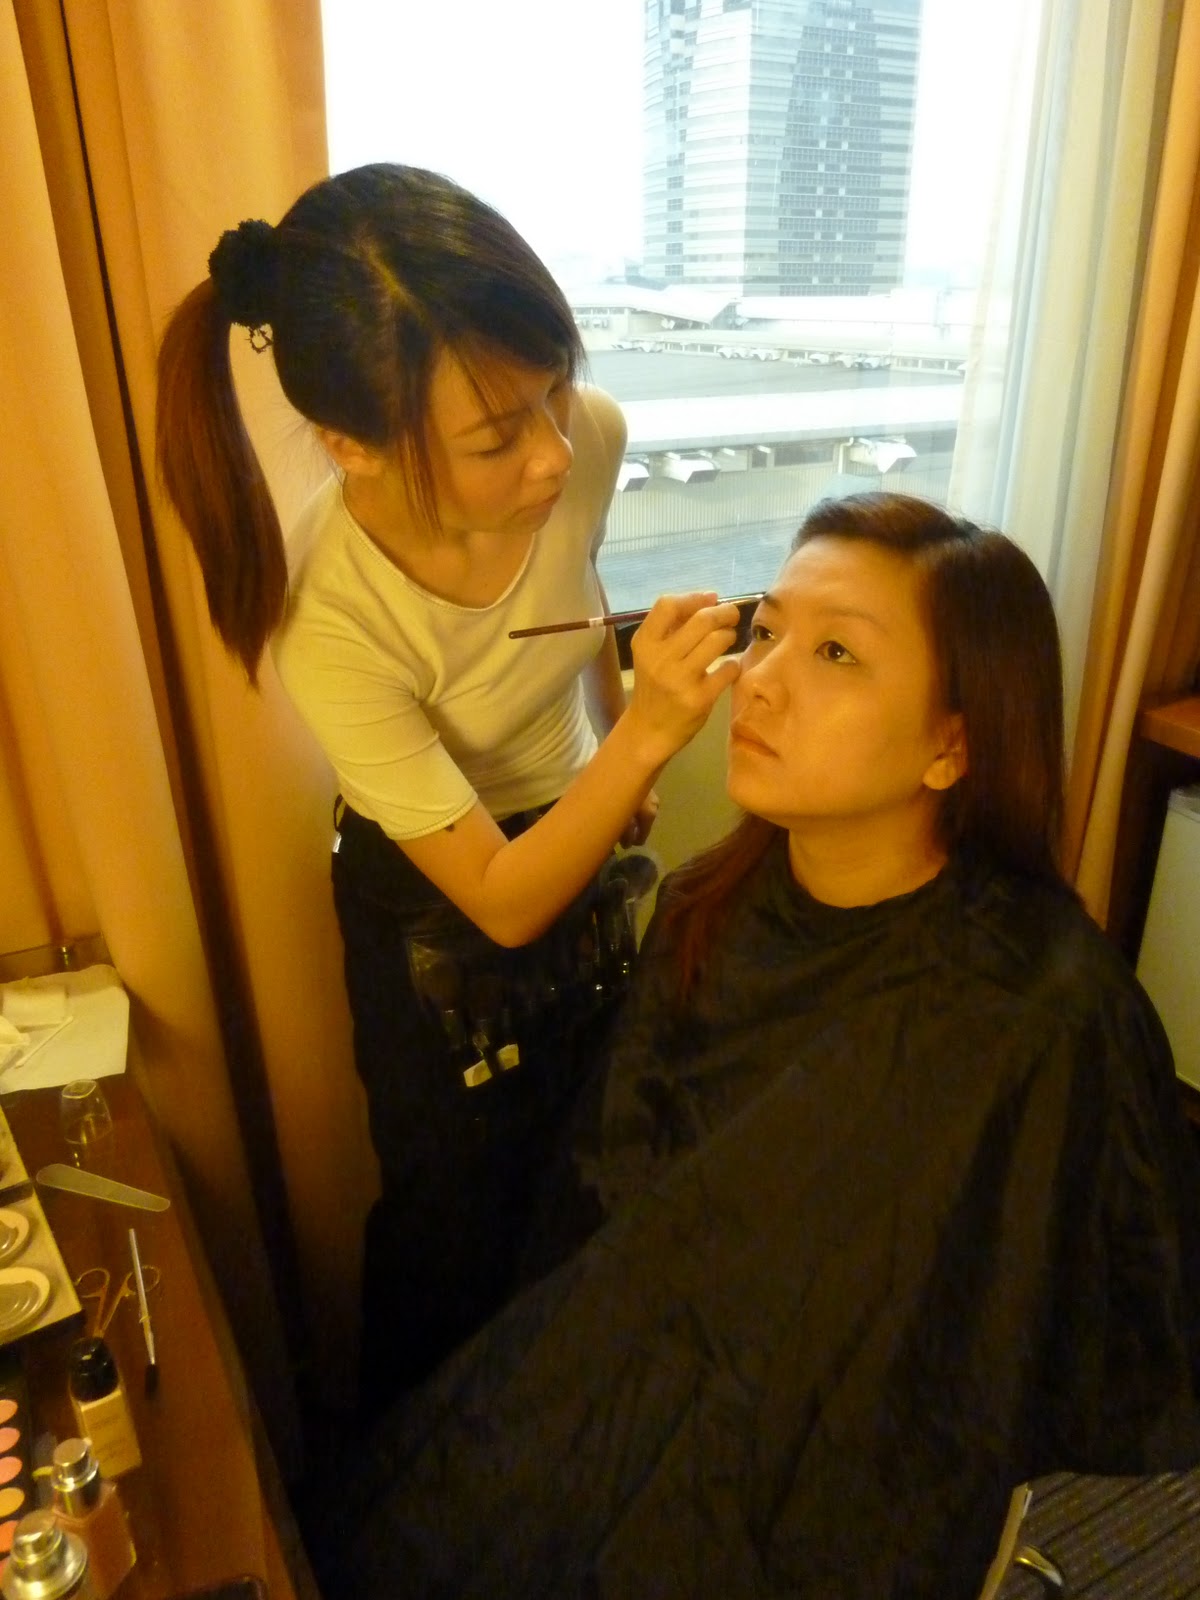
Mummy In S&S Class as my model when I was just took Professional Make Up Course.

A Heavy Dinner Make Up for Mature Look clients.
Mummy during 2011 Before Make Up

This was during 2010 Christmas Party.

Mummy in Wavy Hair Style and Light make up she prefer^^.

New Year 2011, Company Annual Dinner.

Glad that your daughter is under Image, Grooming and Make Over Beauty Line right? hehe!!
Thank You!
Lammie and Family's Wedding Day and Dinner 1.1.2011
Friday, January 21, 2011 2:28 AM
Happy New 2011 Everybody!
Lammie is my ex-customer from Dior previously^^ and here she contact me again for her elder Sister's Wedding Dinner Make Over, unfortunately her elder sister already has her private Make Up Artist, owWww~~ missed this chance to help her tough~ But its alright, got to help Lammie and her other's sister and mother is really more then good!^^
Have a look :-
Here is Lammie, (Before Make up.) Sorry for Lammie's make up scene nobody help to capture :(
She is Michelle, Lammie's younger sister. (Before make up)
Very natural and clean look for morning and as their request.
Lammie and Michelle. Done!
Glad u 2 girls are very happy with it..^^
And not to forget aunty's morning make.
Mrs. Tan.. Congratulations 2u!
I hope u all would love my job on u girls!
Unfortunately picture of Lammie's make up scene also did not get to capture, because she is first who make up, everybody is still busy preparing, and for Night session everybody is kinda rush, no pics for Night look:(
will get it as soon from them..
Thank You!
Thanks for support,
Red Lip Stiq~!
Celine's Register Wedding Day. 01.10.10
1:45 AM
Just get to receive this picture from the owner, and sorry for the so so late delay to upload this in RedLipStiq blog...hehehe!
anyhow, Congratulations to you, Celine!!
Early morning headed to Cititel Hotel, Midvalley to have her make up done.
Dear, Celine.
Brow Trimming and Shaping.
For her deep-in small eyelid, I use Eye Lid Tape to enlarge her Lid and Eyes.
Well, she said she prefer something Soft, Romantic and Natural.
So I applied 2Tone- Soft Pink and Earth Brown, Tone together and while the Earth Brown could helps to avoid swollen-eye looking.
While She is not a girl who use to put on Fake Lash, and yet its a Day make up for Register Wedding, so I prefer giving her #217 Lash, soft and natural Lash, so she wont feel uncomfortable, and suits the occasion as well.
Hair Styling session.
 |
She doesn't like too many and over do stuff, so did not gave her any accessories.
|
Back shoot of her hair.
 |
Young and Sweet! Congratulations once again to u Celine and your Hubby.
I Hope you love it! ^^ |
Thank You!
Christmas Holiday Golden Glam 2010
Saturday, January 15, 2011 8:48 PM
Sorry everyone for the late update here, its been very busy since Christmas Season. Although Christmas is over still would like to wish all a belated Merry Christmas!!
Not to forget by this time is New Year now, I'm here also to wish everybody here, Happy New 2011!!
I would like to share my Christmas Look during my holiday and celebrated Christmas with my family at Shangri-La Hotel Ball Room invited by my daddy's client. So, enjoy this tutorial.=D
 |
As usual, apply all your skin care routine before your make up application because a good moisturizing is a best foundation effect for your skin after make up!
1) use Primer( a light and natural make up base) that content NON SPF.
Benefit- Keep skin smoother and brighter look and make your make up stays longer lasting. I use NON SPF base is because its at Night, you don't have to use SPF for night time by the way. |
 |
2) Using Foundation Brush, apply Fluid Foundation to even our your uneven color skin tone. Is best to avoid Foundation that content SPF as well during this time.
Benefit- The purpose of avoiding SPF foundation is because SPF tents to reflect light and making your face looking oily, over shine and white on photos. |
 |
3) with Concealer brush, conceal and lighten your Dark Circle, Pimple scar and Reddish area with Concealer.
Benefit- Will make your appearance brighter and more awake |
 |
4) Set your whole Face with Loose Powder, A Translucent color Loose Powder. |
 |
5) Draw eyebrow with Light Brown color. For a natural tone. |
 |
6) Blend with Angle Brush/ Eyebrow Brush For a natural touch. Make sure your front head of eyebrow is blur and light. It must be Light, Medium and Dark at end. |
 |
(Tips!) To clean your eyebrow or Re-correct shape, take Concealer using Cotton Pad, gently remove axes In-correction. |
 |
7) Eyeshadow Time! You could get a 4 or 3color palette in, Golden Bronze.
Steps - Use the Lightest Shade for High-light. |
 |
High-light Brow Bone area |
 |
High-light T-Zone area.
Benefit- For a 3D looking and brighten up your features. |
 |
Next, My 6color eyeshadow palette in Creamy Base. Take Yellow Shimmer |
 |
8) Apply on whole eyelid until socket area. Don't know where is your Socket? open up your eye to check weather you could see the color of eyeshadow or not...No? apply higher slowly by slowly until when each time you open up your eye you could see the appearance of eyeshadow, That is Socket area.^^ |
 |
9) Take the Darkest Shade eyeshadow, Dark Chocolate Bronze. |
 |
| 10) Use a Small Eyeshadow brush/ Angle brush to draw the Dark Chocolate Bronze a thick eyeliner and wing it out, like the picture above. |
 |
Check around and the effect must be like this. Yellow Shimmer blend with Chocolate Bronze
|
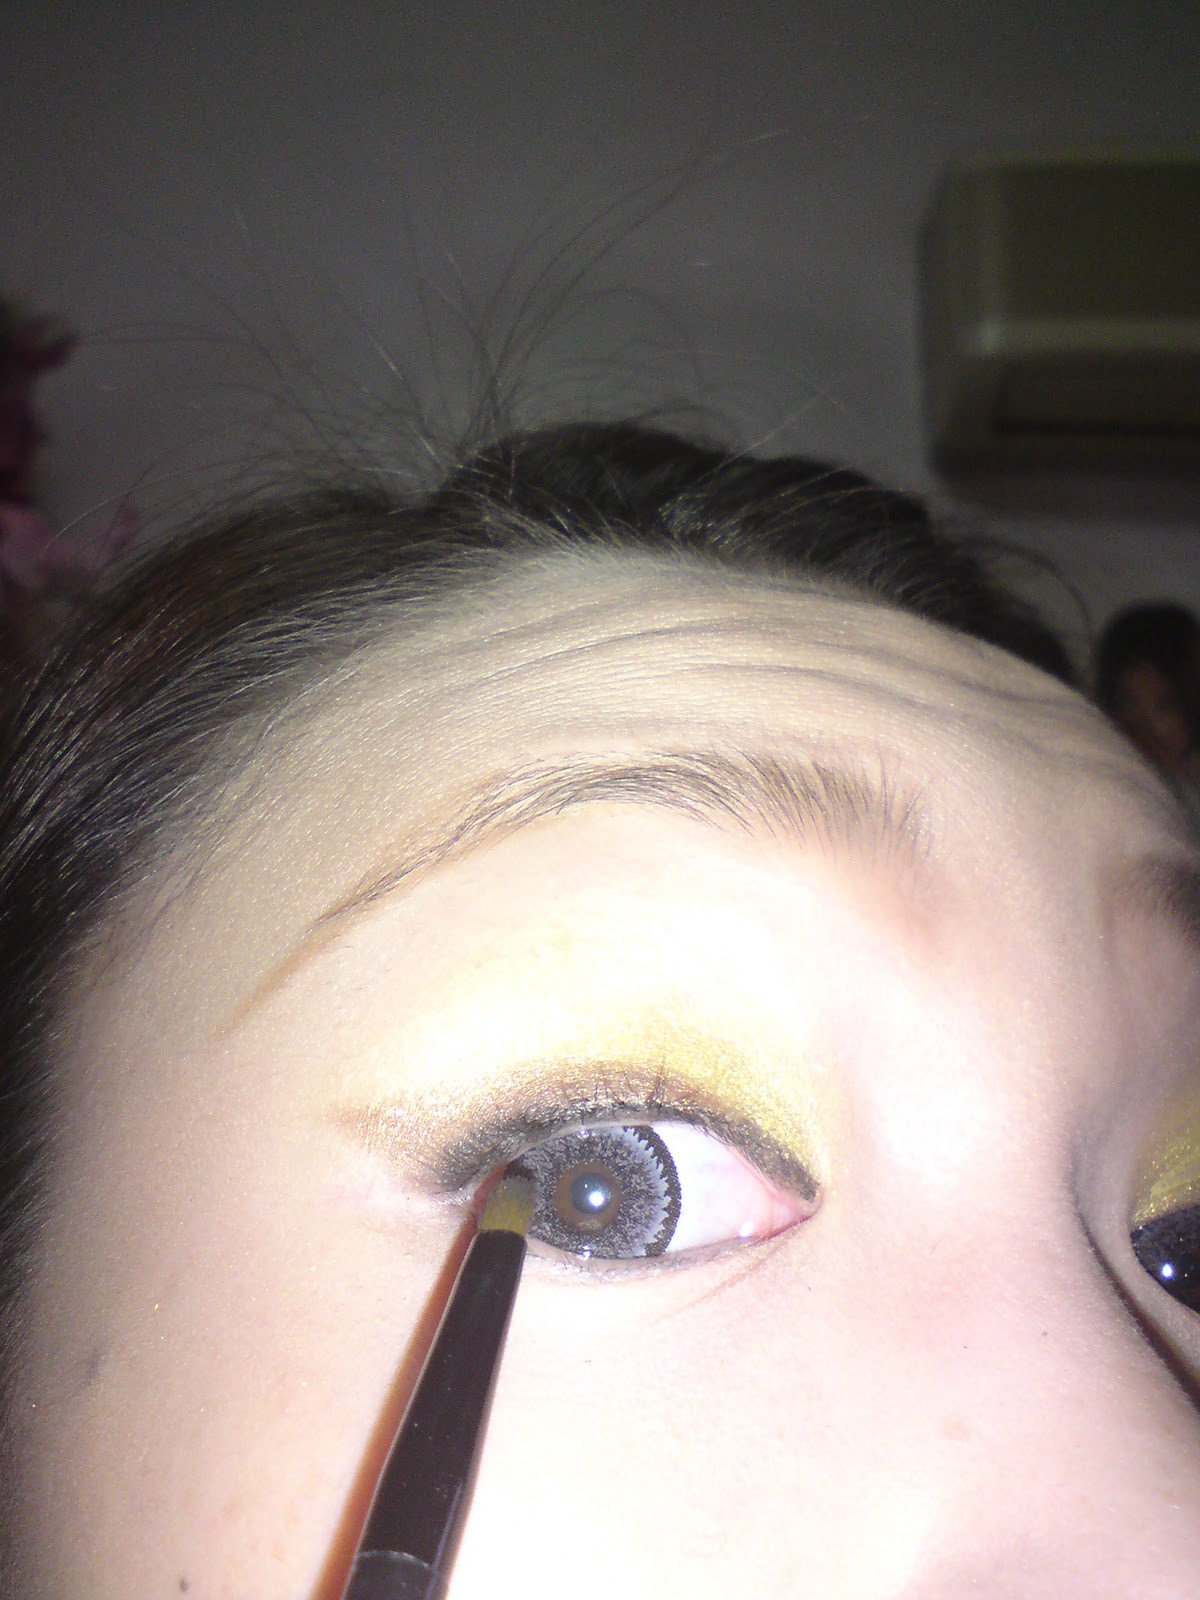
11) I'm using Gel Eyeliner. Using the eyeliner brush fill in your above 'water line' for a fuller and round eyes effect.
Could your see the bottom line that I've lined with my Gel Liner under my lashes? thats the part we call above '
water line' eye area. Drawing this way could helps make your eyes go naturally bigger and fuller.
You could use Cotton Pad as a supporter rather then use your finger.
(TIPS!) Fingers tent to melt your color shadow, and moreover our finger is warm in body temperature, it might also causes pre-mature aging and fine lines would appear if long term doing it.
 |
12) Continue with bottom eye liner, draw 1/3 long. (sorry for camera not in good quality =p hehe!)
|
 |
13) Take back the Yellow Shimmer creamy eyeshadow to line gently around middle eyes area. (TIPS!) You could use your pupils as the measurement lenght |
 |
14) Take Black Shimmering or Non-Shimmering eye shadow as your choice with cleaned Liner Brush. |
 |
15) Draw it again on your 1/3 Gel Liner,(TIPS) This way is to make your liner smudge proof and stay more longer lasting |
16) Curl Lash Time! as I've mention previous post, you could warm your curler for better lash curling result with Hairdryer^^.
17) Curl your lower lash as well.
 |
See when you curl your lower lash it works even well on your favorite mascara! |
18) Blusher Time!
* Pinky Peach
Want to look slim? you could suck your lips tight and follow the appearance of your cheek bone, just blush it on the cheek bone area!
Use excess Blusher brush around your chin bone for Sculpting (
shading) effect. This way you could save cost from buying Sculpting Powder^^
Interesting Part.
19) Take Lash Glue, or you can choose to use clear Lip Gloss to stick Glitters around your eyes area.
Don't worry it wont influence your shadow, just dab very light and a thin layer of the Lash Glue around the places you want to make it Shimmering Glitters. I choose to focus around my whole Yellow Lid.
 |
The excess Glue on your finger, touch this Gold Shimmer dust and pad away the extra, to avoid excess fall around your face. |
20) Gently pad around the Glue area little by little. This part you need to be very careful because it will coses 1patch 1patch and not even.
 |
21) After you are done, use Eye Lash Brush to clean excess that drops around surface. Gently it away. |
 |
22) Fix Fall Lashes. I'm using #217 Lash for natural look. |
 |
23) Conceal your lips for clean looking lipstick coverage. |
 |
24) Line your lips with light Peach Pink or Pink color Lip Pencil. For longer lasting and clean shape. |
 |
25) Apply Lip Color in Light Peach Pink
|
 |
26) Lip Gloss for final touch. |
 |
27) and get your hair done with your choice!^^.. |

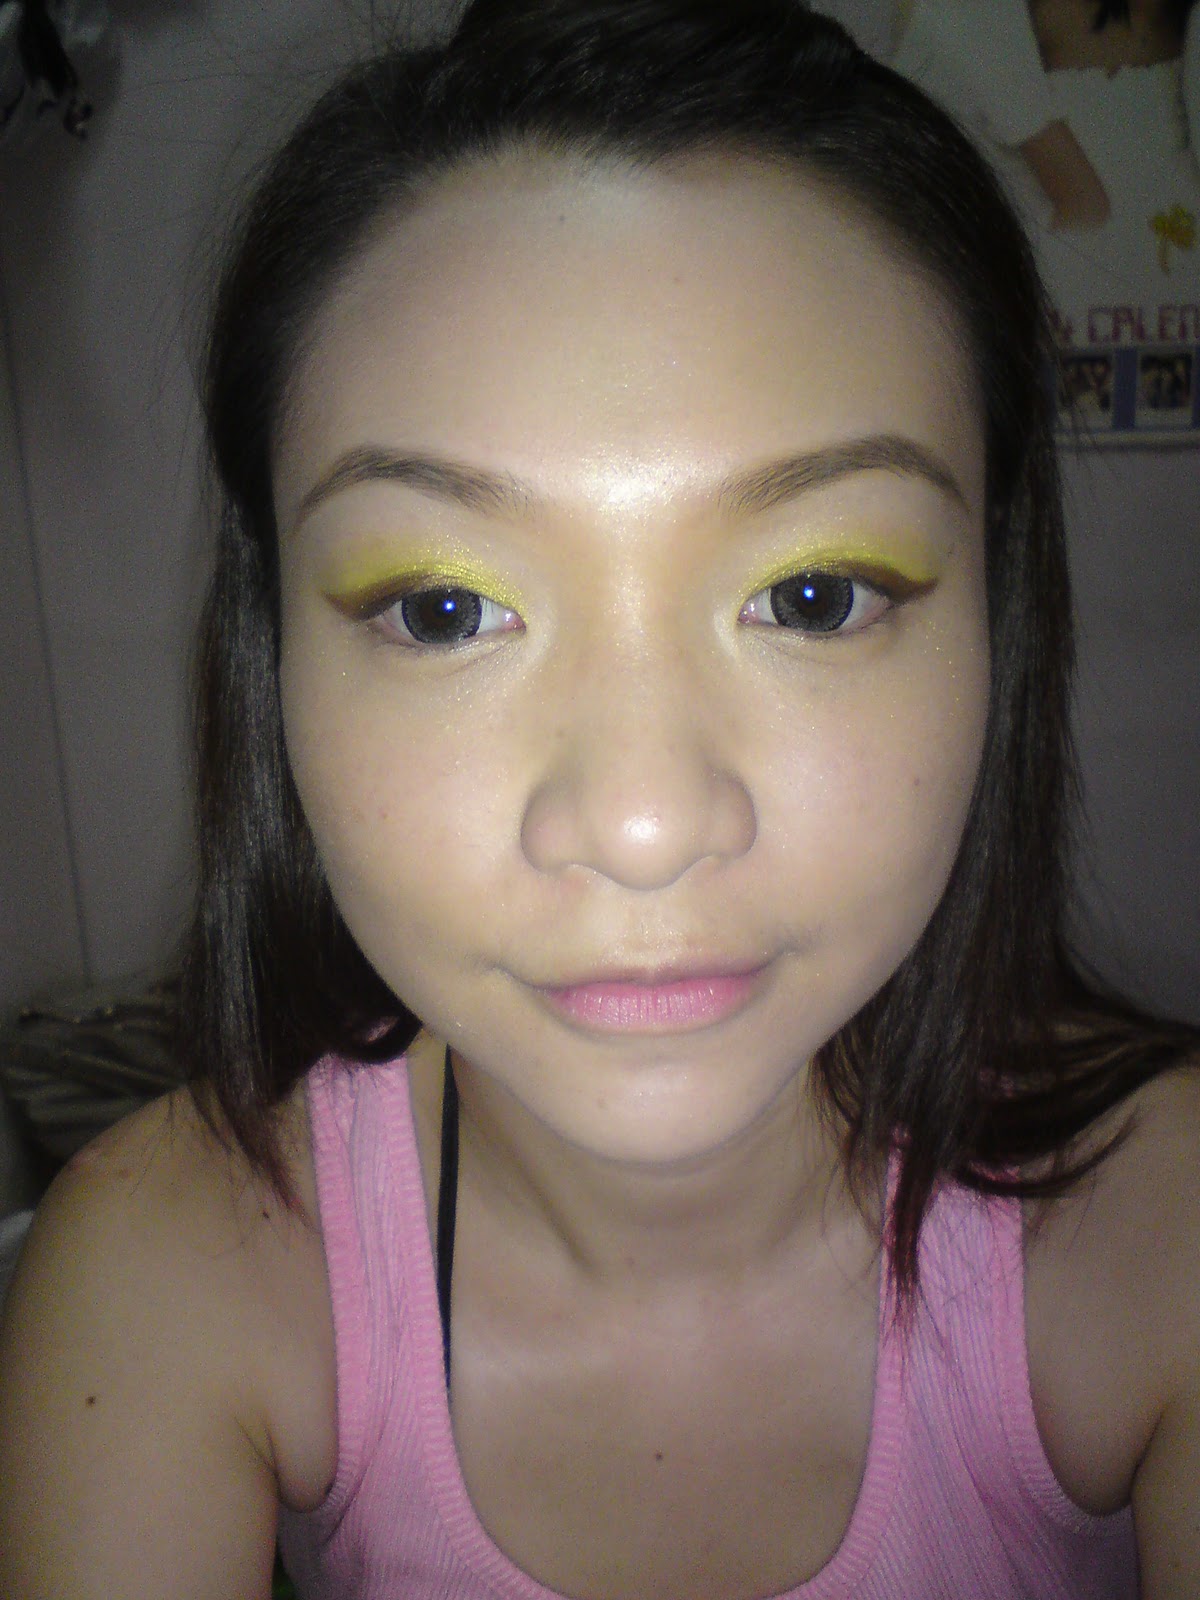
TaDaahH~! it look good in flash shoot.
I Hope You ALL Enjoyed!
MERRY BELATED CHRISTMAS 2010!
Regards,
TRICIA
(The Red Lip-Stiq)


